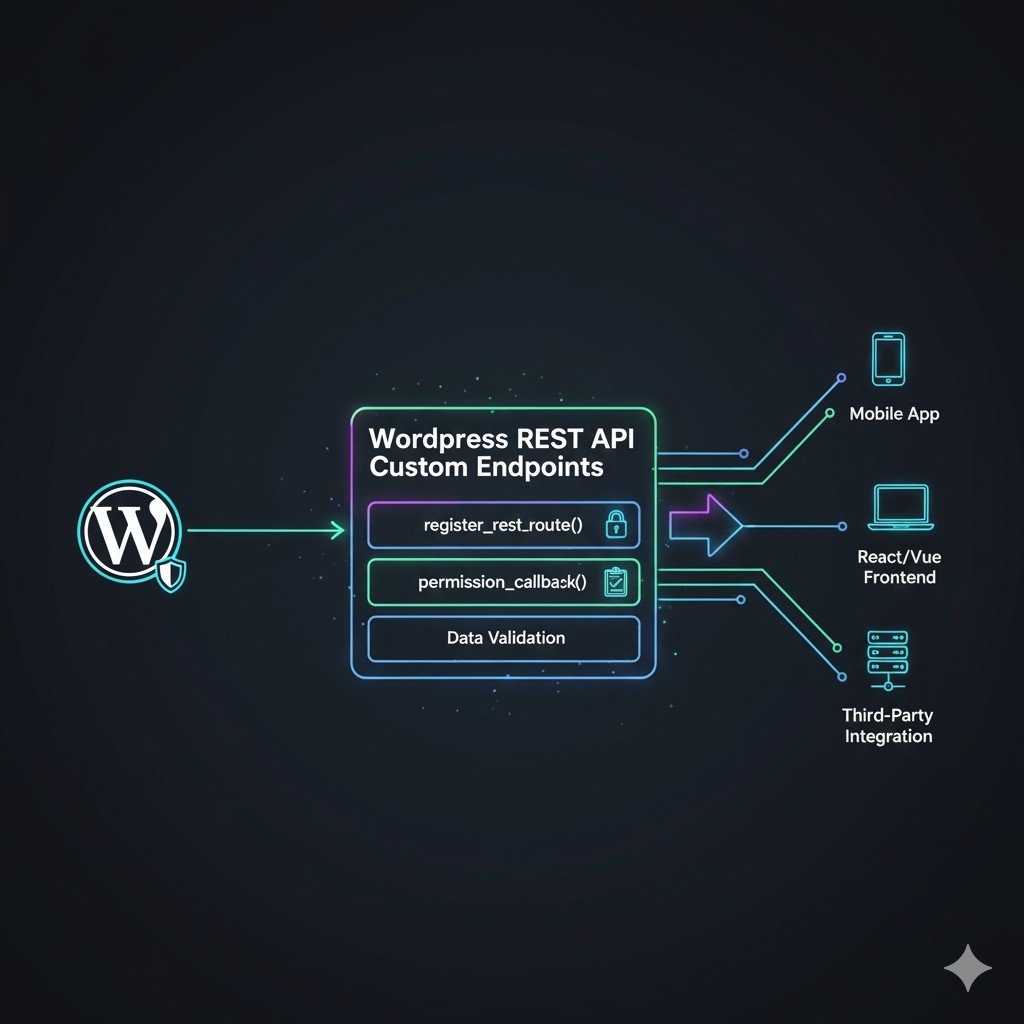
The Core Function: register_rest_route() Explained
The entire process of creating a custom endpoint revolves around a single function: register_rest_route(). This function should always be hooked into the rest_api_init action.
Basic Endpoint Structure
The function takes three main arguments:
$namespace(string, required): Your custom identifier. This prevents conflicts and standardizes your API (e.g.,my-plugin/v1).$route(string, required): The specific path after the namespace (e.g.,/featured-products).$args(array, required): An array defining the methods, callback functions, and permissions.
function my_custom_api_endpoints() {
    register_rest_route( 'my-app/v1', '/featured-products', array(
        'methods'               => 'GET', // HTTP method: GET, POST, PUT, DELETE
        'callback'              => 'get_featured_products_data',
        'permission_callback'   => '__return_true', // CRITICAL for security
    ));
}
add_action( 'rest_api_init', 'my_custom_api_endpoints' );

function get_featured_products_data( $request ) {
    // Logic to retrieve and format data goes here
    $products = [
        ['id' => 1, 'name' => 'Widget A', 'price' => 19.99],
        // ... (data from WP_Query or custom logic)
    ];

    // Always return a WP_REST_Response object
    return new WP_REST_Response( $products, 200 );
}
Access URL: yourdomain.com/wp-json/my-app/v1/featured-products
Advanced Permissions and Authentication (The Security Guide)
One of the most common pitfalls is setting the permission_callback to __return_true for write operations. This exposes your API to the world!
1. Basic Permission Checks
You must check if the current user has the necessary capabilities to access the endpoint.
function check_admin_permission() {
    // Only allow users who can manage options (Administrators)
    return current_user_can( 'manage_options' );
}

register_rest_route( 'my-app/v1', '/settings', array(
    'methods'             => 'POST',
    'callback'            => 'update_plugin_settings',
    'permission_callback' => 'check_admin_permission', // Use custom function
));
2. Protecting Endpoints (Authentication Best Practices)
For front-end (decoupled) apps, you need authentication.
- For GET (Public) Endpoints: Use no authentication (
__return_true) or check for basic access (is_user_logged_in()). - For POST/PUT/DELETE (Private) Endpoints:
- Cookie Authentication: Works automatically for logged-in users making requests from the same domain (e.g., WordPress admin). Requires the request to include a valid Nonce (via
wp_rest_nonce). - Application Passwords: The modern, secure way for headless applications. Requires the client to send the password in the HTTP
Authorization: Basicheader. - JWT/OAuth: Used for external third-party apps or high-security integrations (often requires a dedicated plugin).
- Cookie Authentication: Works automatically for logged-in users making requests from the same domain (e.g., WordPress admin). Requires the request to include a valid Nonce (via
Handling Data Validation and Sanitization
When accepting data via POST or PUT, you must validate the structure and sanitize every input before using it. register_rest_route() provides robust methods for this via the $args array.
Validation and Sanitization Example (POST)
Let’s register an endpoint to update a user’s phone number.
register_rest_route( 'my-app/v1', '/update-phone/(?P<id>\d+)', array(
    'methods'             => 'POST',
    'callback'            => 'update_user_phone',
    'permission_callback' => 'check_current_user_permission', // Check if user can edit this ID
    'args'                => array(
        'phone_number' => array(
            'required'          => true,
            'description'       => 'The user\'s new phone number.',
            'type'              => 'string',
            // VALIDATION: Ensure the format is valid
            'validate_callback' => function($value, $request, $param) {
                // Example: Basic check for a common phone format
                return preg_match( '/^\d{3}-\d{3}-\d{4}$/', $value );
            },
            // SANITIZATION: Clean the data before it hits the callback
            'sanitize_callback' => function($value, $request, $param) {
                return sanitize_text_field( $value );
            },
        ),
    ),
));
Developer Insight:
validate_callback: Returnstrueorfalse. Iffalse, the API returns a400 Bad Requesterror automatically.sanitize_callback: Cleans the data (e.g., removing HTML tags) before it is passed to your maincallbackfunction. Always use standard WordPress sanitization functions here.
Exposing Custom Post Types (CPT) with Custom Fields
While WordPress exposes CPTs automatically if you set show_in_rest = true, the default output often lacks your custom fields. You must use the register_meta() function to expose them.
The Code Example (Exposing Custom Meta)
function register_project_meta_for_rest() {
    register_meta( 'post', 'project_status', array(
        'object_subtype' => 'project', // Your CPT slug
        'show_in_rest'   => true, // EXPOSES the field in the REST API output
        'single'         => true,
        'type'           => 'string',
        'auth_callback'  => function() {
            return current_user_can( 'edit_posts' ); // Permission to read/write the meta
        }
    ));
}
add_action( 'rest_api_init', 'register_project_meta_for_rest' );
Now, when you query the default CPT endpoint (/wp/v2/project), the project_status meta key will appear in the JSON output, ready for your decoupled application!
Best Practices for REST API Development
- Namespace Everything: Use versioned namespaces (e.g.,
my-app/v1). If you make breaking changes, you can launchmy-app/v2without affecting older clients. - Be Explicit: Explicitly define the
methods(GET, POST) and the structure of the data you accept and return. - Always Sanitize: Treat all data coming from the REST API as untrusted and run it through
sanitize_text_field(),wp_kses(), or similar functions. - Use Schema: While complex, defining a schema for your endpoints (using the
schemaargument) is the gold standard for robust API documentation and validation. - Audit Permissions: This is the weakest link. Always ensure your
permission_callbackis running the most restrictive check possible.
Conclusion: Unlocking Headless WordPress Power
The ability to create custom REST API endpoints is what elevates a WordPress developer from a theme integrator to a full-stack application builder. By mastering register_rest_route(), understanding proper security checks using permission_callback, and enforcing strict data validation, you can confidently expose your custom data to any modern application. This is the path to building fast, scalable, decoupled WordPress experiences.
Need help integrating a decoupled front-end or setting up secure custom REST routes?
If you’re building a headless application and require complex, secure, and performant custom API endpoints, contact me for expert WordPress REST API development and consulting. Let’s build your next application.